PAGES

Friday, May 30, 2014

Parmesan Chicken

Main:  Chicken Dish


It was Tita Ninang who taught this dish to us when they visited us in Singapore.  I have served this easy-peasy dish to guests numerous times and it always gets rave reviews.
Tita Ninang, Uncle Vlado and then toddler, Jacob.

Recipe (enough for four):

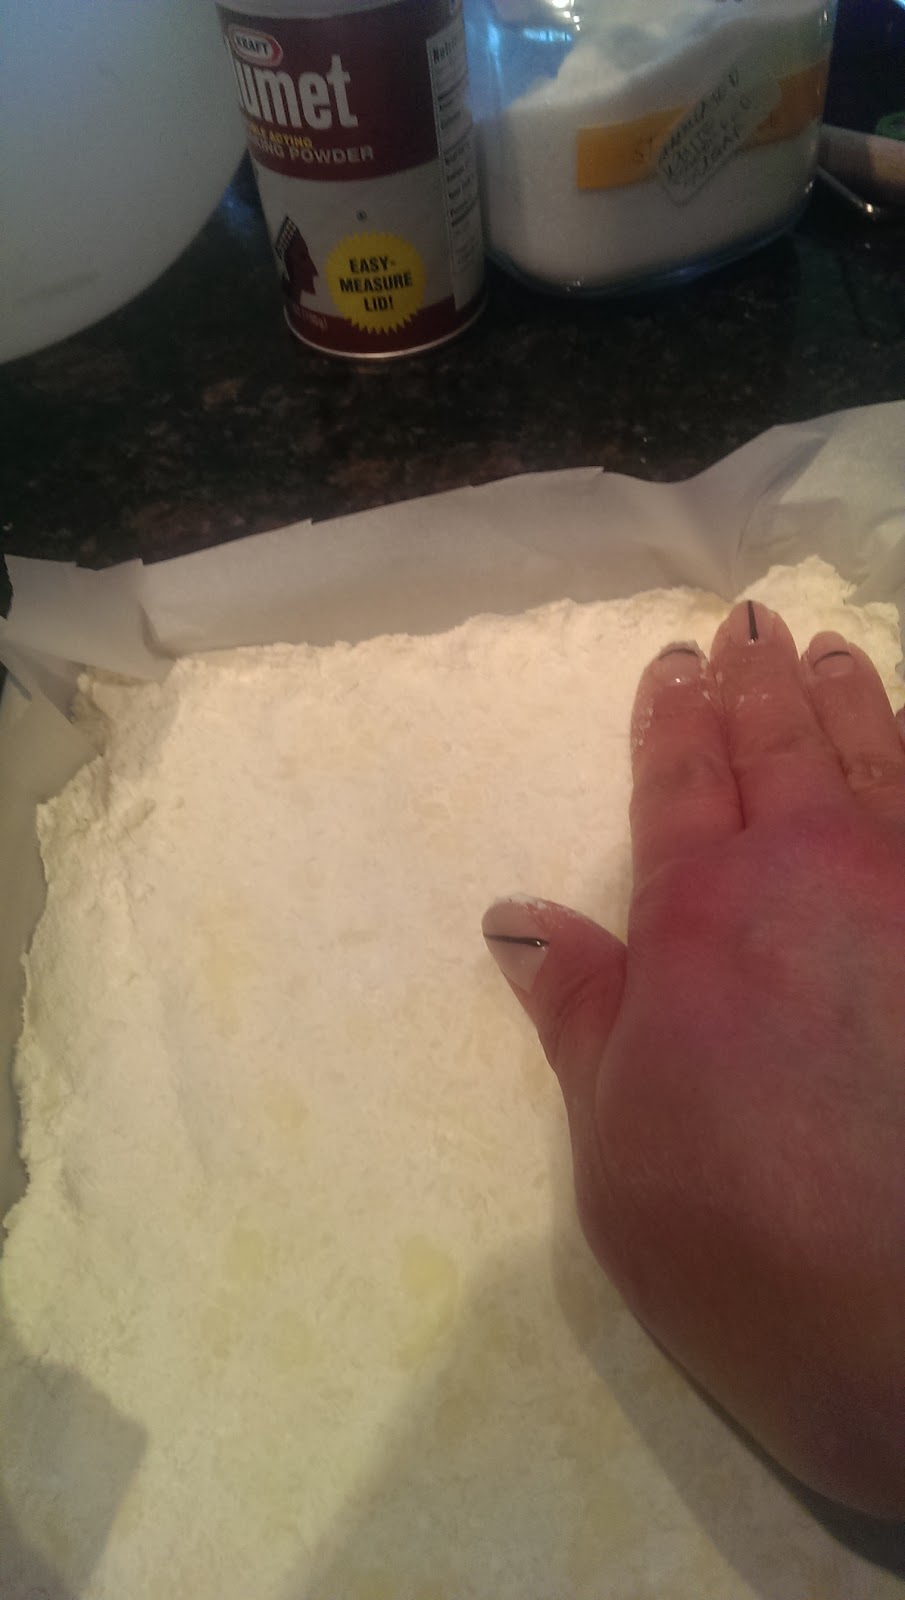
  • in a sturdy plastic bag, place 3/4 cup flour, heaping teaspoon each of salt and paprika powder
  • drop in the bag 16 pieces of chicken drumettes
  • hold one end of the bag tightly and shake bag well so that the flour mixture will lightly coat all the chicken pieces. Set aside.
  • thinly slice 2 big onions.  You need the touch of sweetness the onions will provide.
  • shave 250 grams of parmesan cheese (grated parmesan in packs aren't that cheesy enough). Divide into 2/3 & 1/3 portions.
    I used a cabbage shaver (you can find this nifty
    gadget from Japanese dollar stores) to speed up
    the tedious process. You can also use a regular peeler.
  • heat oil in a frying pan and brown the chicken.  Drain on paper towels set aside.  
  • you can use the same pan for the next step.  Throw away the oil and rinse it well.  Wipe pan with paper towel.
  • pre-heat oven 350 degrees
  • melt a stick of butter in the pan
  • caramelize onions, adding a little water or stock at a time so the onions won't burn.  Along the way, I add a teaspoon of chicken stock powder, a few splashes of tabasco and liquid seasoning.
  • when the onions have caramelized properly, pour a cup of stock or water. Sprinkle about a teaspoon of paprika and the 2/3 portion of parmesan cheese.  Cook until the cheese melts, about 2 minutes.  Stir constantly to spread out the cheese.
  • distribute the drained chicken on your baking dish
  • pour the onion/cheese sauce over the chicken. Sprinkle with the remaining parmesan cheese.
  • cover the baking dish with tin foil and bake for 45 minutes
  • when it's done, let it rest for 5 minutes before removing the tinfoil and enjoying the tender goodness of the chicken
    For carbo, we had steamed brown rice because generously drizzling
    the buttery/cheesy sauce over it is heavenly.
    To somehow counter-act the richness,
    we had vegetable pasta on the side.

Tuesday, May 20, 2014

Pulled Braised Pork in Steamed Buns

Main or Snack:  Pork

My family first encountered this heavenly dish, kong bak pau, the first time we ate at +Westlake Eating House.  The restaurant is found in an HDB complex (stands for Housing Development Board, like government housing) with green plastic chairs (and chopsticks!) and floral plastic covered tables.  So nondescript but always crowded. Even if you wait for a long-ish time, the aunties & uncles always assure you that they haven't forgotten you.
Westlake Eating House's kong bak pau served with lettuce leaves.


Their Hokkien version uses pork belly slices. When we lived in Singapore, I used twee bak (pork shoulder with skin on). Less fatty and hopefully, more healthy.  Here in the US, I use either pork shoulder or full ham boneless (the back part), also lean but with a hint of that all important fat. You need the fat, even minimal, for flavour and to keep the meat moist during the long cooking time.  The Hokkien braised pork recipe has ginger, catsup, cloves, star anise and five spice powder.  My family is not too keen on said spices.  Am too lazy too to blanch first the pork then brown it before starting with the braising process. Instead, the tweaked recipe I am sharing is from +Nora V. Daza's book, "Let's Cook With Nora," pork asado recipe. In addition, am using a slow cooker.  You can use pressure cooker or even a regular saucepan.  You just have to be around to constantly check that the meat is really getting tender and that there is still enough braising liquid.
I used full ham boneless cut with a little fat & skin.

I decided to prepare this dish because the coriander my boys planted latter part of March is blooming.  Instead of lettuce leaves, we place instead cucumber sticks and coriander leaves. We find it more refreshing.
Coriander or cilantro leaves ready for picking.

Wednesday, May 14, 2014

Braised Minced Pork

Main:  Pork


Don't you just love preparing and serving tasty dishes which are complete in protein and vegetables?  This is a fairly recent family favourite, a recipe I learned from +Bujit Tesoro.  Like most braised or stewed dishes, it's best to cook this a few days before serving so that the flavours gel together.

Ingredients & Process (enough for 4 people with big appetites with extra for breakfast)

  • in a wok, heat 4 tablespoons of sesame oil.  I prefer the darker coloured one because it's richer in flavour. Swirl the oil around so it also coats the sides of the wok.
  • cook to soften minced medium onion.  Add a little water at a time to ensure it just softens, not burn.  I also add a teaspoon of stock powder.  About 4 minutes.
  • saute minced garlic, about a minute.  I minced 12 cloves, the more garlic, the better.
  • add 3 pounds minced pork and cook until there are no more pink bits
  • while the pork is cooking, mix in: 3 tablespoons Chinese cooking wine (or any dry white you have in your cupboard; sake works too!), a heaping teaspoon (or less, depending on your tolerance level) of chili garlic, 2-3 tablespoons each of soy sauce, hoisin sauce, oyster sauce & brown sugar. Make sure you mix well.
  • mix in cornstarch (1 tablespoon) dissolved very well in 1/3 cup water.  Add enough water to barely cover the meat.  Boil then simmer 20 minutes.
  • while the meat is simmering, prepare your veggies.  The original version calls for par-boiled green or snap beans which is supposed to top the cooked minced meat.
    I wanted to use my relatively new toy, Cuisavor spiral vegetable slicer, so instead, I made veggie pasta out of 3 zucchinis and 3 yellow squashes. Place in the refrigerator when done.
  • when the pork is well cooked, increase flame to high and remove the cover.  Cook to reduce liquid, about 5 - 7 minutes.  See if you have to add more flavouring, say, sugar or soy sauce. Stir every few minutes to ensure it won't crust at the bottom (usually happens when you have sugar in your dish).
    Above shot, still liquid-y.  Below, after the reduction
    where it is more "dry".
  • remove from flame and gently fold in your veggie pasta. As I've mentioned, it's best to refrigerate at least 1 day (the longer the better) before serving hot (just re-heat in the micro).

  • just to make it a little different if I serve it again for breakfast the following day, I  top it with poached egg. For dinner tonight, we did rice-topping style.  Veggie & meat in one robust-tasting dish!


Friday, May 9, 2014

Chicken Wings with Sherry

Main:  Chicken


I have an affinity for "rustic" dishes because it is "forgiving" to lazy cooks.  Not too many steps and not too exacting on proper cutting or slicing but still delivers satisfying dishes.  The following family favourite comes under said category.  

Sherry is a fortified wine produced in the Andalusia region of Spain. Aside from being the perfect accompaniment to tapas, it can be used for main dishes and dessert too.  In fact, in a pinch, I use it as a substitute for sake (believe me, it works for Buta No Kakuni - Japanese braised pork belly dish).  There are 2 main categories for sherry.  The lighter & drier style have: fino, manzanilla and amontillado (remember Edgar Allan Poe's short story?). While those which have higher alcohol content are called oloroso or fragrant sherries.

For this dish, I used the more affordable fino sherry from Jerez.
Medium sherry from Jerez.

Process & Ingredients (enough for a hungry family of 4):
  • slice into slivers 10 - 12 cloves of garlic; set aside
  • roughly chop parsley; set aside
  • in a hot pan with a little cooking cooking oil, brown chicken drumettes in small batches; officially, the chicken should be browned as is/naked but since I'm afraid of getting splattered on, I coat the chicken drumettes with a little flour seasoned with salt and pepper; set aside
  • if there is too much oil left in the pan, remove some until you have left about 3 tablespoons of cooking oil 
  • quickly brown the garlic slivers, not fry! This would take less than a minute.
  • add your browned chicken and toss it around so that the browned garlic is distributed
  • for 16 pieces of chicken wings, I pour 3/4 cup of sherry plus 1/4 cup stock or water - just enough to cover the chicken wings
  • boil then simmer until tender.  About 30 minutes.
  • place your tender chicken drummettes on a serving dish and pour the thickened sauce and garlic over it
  • sprinkle chopped parsley. Vamos a comer!!!!


Friday, May 2, 2014

Lemon Bar Cookies

Dessert

Nothing says "hello warm weather" better than the fragrant smell of lemon wafting in the house.  Naturally erasing other stinky cooking smells to boot.

Here's an easy recipe, no need for a mixer, yey!

"CRUST"
  • 1 cup all purpose flour
  • 1 stick butter cut into small pieces
  • 1/4 cup confectioner's sugar

"FILLING"
  • lightly beat 2 eggs in a small bowl
  • 1 cup granulated/fine sugar
  • 1/4 cup lemon juice (1 juicy lemon so better roll on your counter with a little pressure)
  • lemon zest of 1 lemon; finely chopped.  I used a mezzaluna.
  • 1/4 teaspoon salt
  • 1/2 teaspoon baking powder
  • 2 tablespoons all purpose flour
PROCESS
  1. pre-heat oven to 350 degrees
  2. either process or just use a pastry cutter to cut the flour, powdered sugar and pre-cut butter until it looks like cornmeal
  3. spread out on a 10 1/2 x 8 x 1 inch baking pan lined with parchment paper with edges sticking out. Pat down with clean hand.
  4. bake for 15 - 20 minutes until golden brown.  Remove from oven
  5. while the "crust" is baking, prepare the filling by mixing eggs with sugar in a medium-sized bowl
  6. add lemon juice, zest, salt, flour and baking powder.  The consistency is supposed to be runny.
  7. pour into crust.  Bake 30-35 minutes.
  8. sprinkle additional powdered sugar
  9. cool then cut into desired shapes, like bars

Thursday, May 1, 2014

The Perfect Lemonade

Summer Beverage


Flowers are a-blooming, bees are a-buzzing and birds are a-pooing :p.  Yep, weather is finally warming up (kinda)! 
Dainty magnolias bursting out.
But not next week :(
Oh dear, just brought the quilts to the dry cleaner.
A great way to combat the heat is having pitchers of homemade lemonade on standby.

Process:
  • microwave 1 1/4 cups of white sugar and 1 cup of water to make syrup
  • bring out your ancient juicer and get ready to collect juice of 6 lemons; roll with pressure the lemons on the counter to get the maximum juice before juicing
  • combine in your pitchers
  • garnish with thin lemon slices and some roughly chopped mint if you have some on standby
  • fill up your glasses with ice cubes and your homemade lemonade, enjoy & relax